Setup and Syntax Basics
Site setup
In our web server setup, we used some JavaScript designed to be run in a Node.js web server context.
Now we will turn our attention to JavaScript that is interpreted by a web browser.
In order to execute JavaScript code in the browser, it has to be tied to a HTML document so let’s start there: create a new HTML file at psy1903/web/week2/index.html with this code:
<!doctype html>
<html lang='en'>

<head>
    <title>JavaScript Basics</title>
    <link href=data:, rel=icon>
    <script src='app.js' defer></script>
</head>

<body>
    <h1>JavaScript Basics</h1>
    <p>
        Open the web inspector console to see the results of
        the JavaScript that is executed on this page...
    </p>
</body>

</html>
To learn more about the above code, visit Appendix - HTML.
From the work we completed when setting up Git, you should already have a file at psy1903/web/week2/app.js with this code:
console.log('Hello World!');
And with that, we have the two ingredients for our first “project” where we will practice the basics of JavaScript.
- Ingredient 1) A HTML file (
psy1903/web/week2/index.html) to define the structure of a page - Ingredient 2) A JavaScript file (
psy1903/web/week2/app.js) to interact with that page
Load the project in the browser
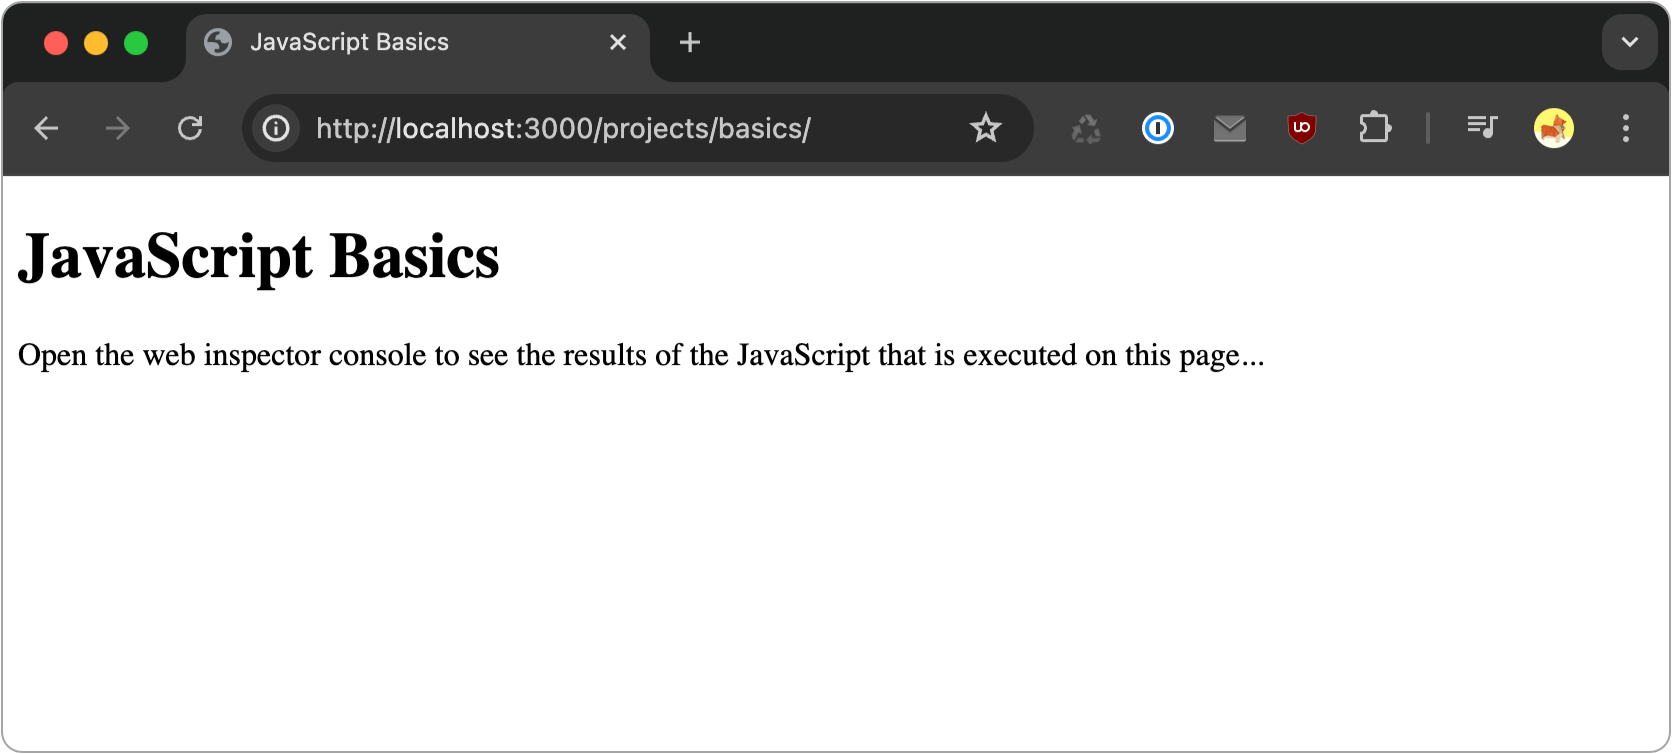
With your web server running, you should be able to access the above index file via http://localhost:3000/week2 (swap in 3000 with whatever port number your server is running on).

Note how we didn’t have to explicitly include /web as part of our URL address, as that is the default/root directory our server will load files from when accessed in a web browser.
Additionally, we didn't have to explicitly include the index.html file name in our path, http://localhost:3000/projects/basics. This is because web servers are typically configured to look for a file index.html by default. If you had named this file anything else (e.g. home.html), you would want to include the file name as part of the path: http://localhost:3000/week2/home.html.
Access web inspector console
In order to see the output of the JavaScript code provided in the example, we have to open the browser’s web inspector console. The web inspector is a tool web programmers can use to work with the “inner mechanics” of web pages.
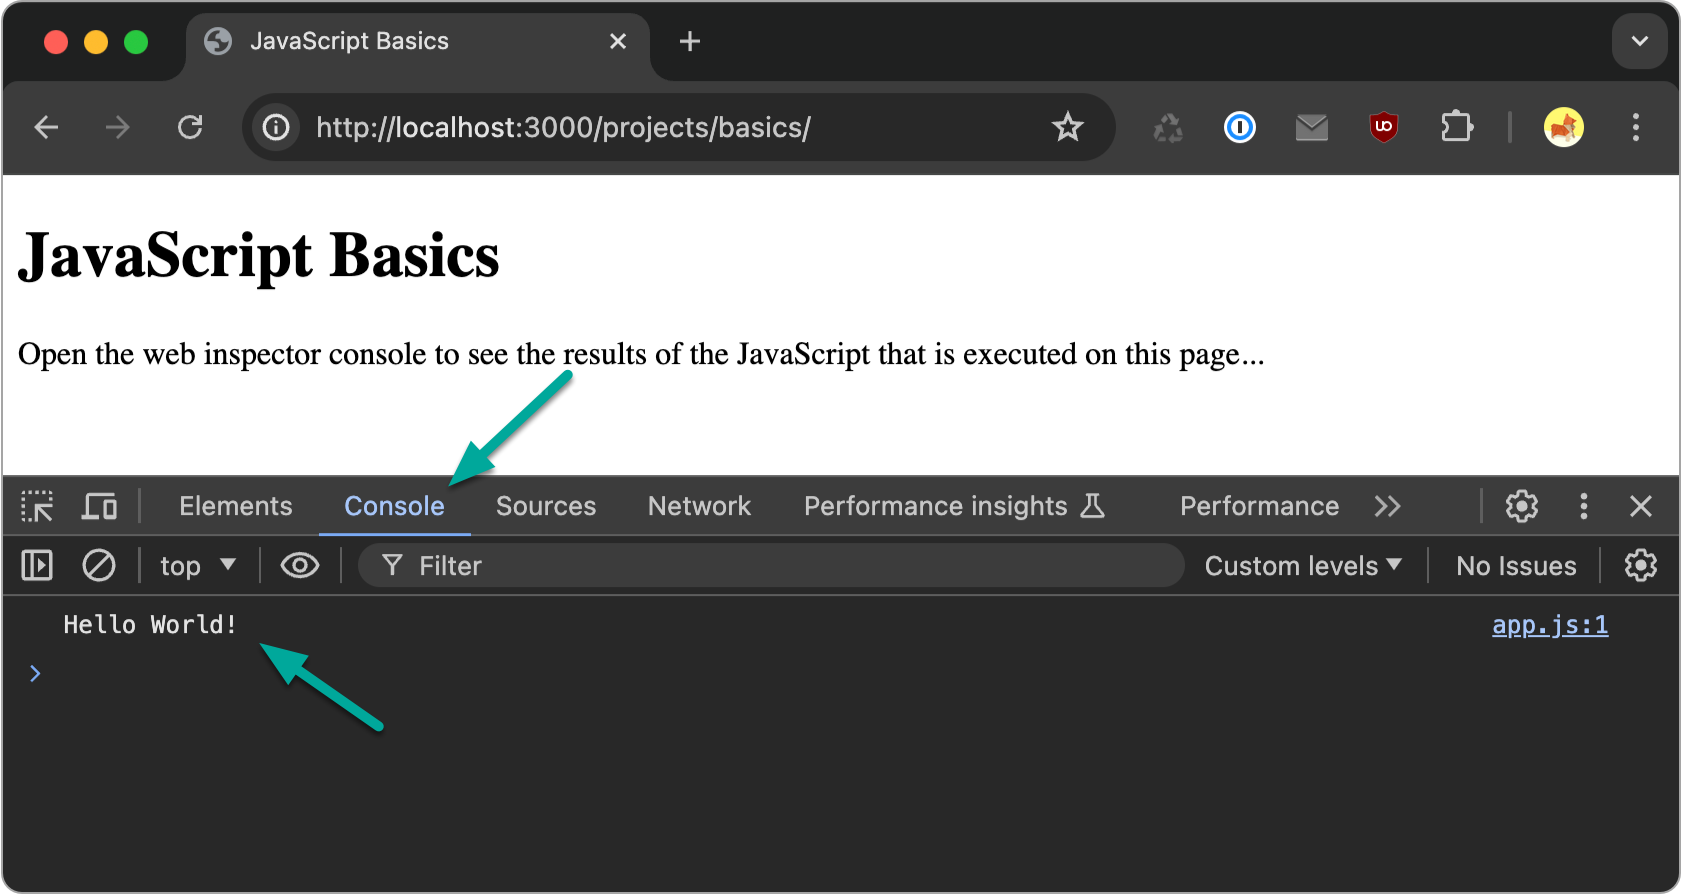
To access the web inspector console, right click on the page and choose Inspect....
From the inspector pane that appears on the bottom of the page, switch to the Console tab. Within the console, you should see the output message Hello World! we programmed in our JavaScript file like so:

Make a change...
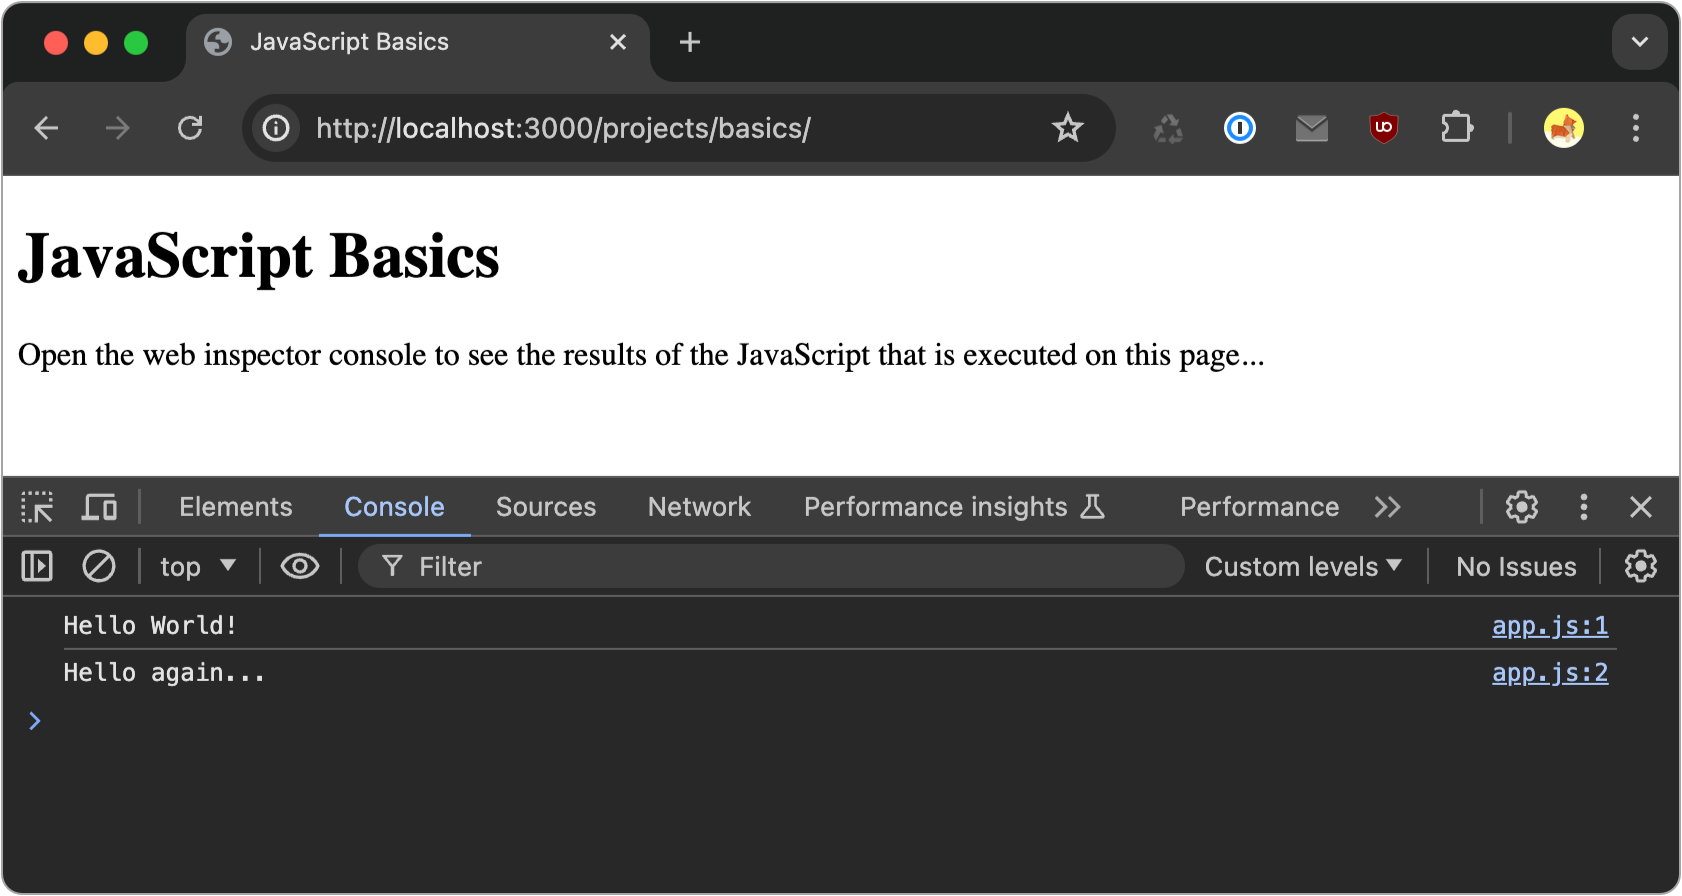
To get comfortable with our setup, try replicating the existing console.log message in the app.js file so the message Hello again... is also printed to the console. Refresh the page in the browser to check your work.
Expected results:

This is the process we will follow as we continue on our path to learn JavaScript - we will alter our JavaScript code, then refresh the page to see the results.
In the beginning, all our output will be displayed in the console, but we’ll eventually see how to change the contents of the page and show output there.
Syntax basics
Let’s take a moment to observe some basics about the two lines of code we have so far:
console.log('Hello World!');
console.log('Hello World...');
First, observe the various characters used in this code such as the period, parenthesis, quotes, and semi-colon. Characters like these are used throughout code, much as punctuation is used in written language, to embed special meaning.
Each of the above lines are referred to as a statement. In JavaScript (and many other languages), statements perform actions such as invoking methods, declaring variables, making decisions, executing loops, or performing operations.
A JavaScript program is essentially a sequence of these statements, which are executed in order.
One line statements should be terminated with a semi-colon, kind of like a period at the end of a sentence.
Some statements will span multiple lines. For example, the following is a function declaration statement that spans 4 lines:
function fahrenheitToCelsius(fahrenheit) {
    let celsius = (fahrenheit - 32) * 5 / 9;
    return celsius;
}
Note how there’s no semi-colon used at the end of this multi-line statement. Also note there are two single-line statements within the function declaration statement, showing how statements can be nested within one another.
Again, take a moment just to observe the various characters used throughout this code such as the curly brackets, semicolons, and parenthesis.
“Built-in” JavaScript
Returning to the console.log('Hello World!'); statement, this line uses JavaScript’s built-in console.log method. Take a moment to skim documentation for this method here: https://developer.mozilla.org/en-US/docs/Web/API/console/log_static.
When we say something is built-in to JavaScript, we mean it’s a core utility of the programming language and something you can use anywhere in your code.
This is in contrast to user-defined utilities - that is, code that you (or some other programmer) writes to expand the baseline functionality of JavaScript.
Much of the upcoming note sets will focus on built-in JavaScript utilities as we get familiar with the language. Later, we will explore outside utilities and learn how we can incorporate them into our projects.
Summary
With a starting “taste” of what it's like to work with JavaScript, let’s continue our journey and learn about variables, comments, and data types - three key components of programming.